
Server guides.
Base Building 101
Time to Build
Our servers allow three base types:
- Normal base (on the ground)
- Underwater base
- Skybase (floating in the air)
Each has its own advantages and disadvantages:
| Normal | Underwater | Skybase | |
|---|---|---|---|
| Stealth | Low | Medium | High |
| Build speed | Fast | Medium | Slow |
| Defense | Hard | Medium (some raid weapons do not work underwater) | Easier than the others |
| Vulnerable to | All raid weapons | Limited raid weapons | All raid weapons |
Choose the type that fits your situation. Just started? Build a normal base. Have time and resources? Skybase is harder to raid. Want to hide? Go underwater.
Choosing Your Material
| Weakest | Strongest | ||||
|---|---|---|---|---|---|
| Birch | Maple | Pine | Metal | Brick |
Birch is the weakest and cheapest material. Brick is the strongest and most durable. These materials are from Unturned's built-in maps and may not be available on every map.
Building a Normal Base
This walkthrough uses the Firewatch Base area on the Russia map as an example. The same steps apply anywhere on any map.
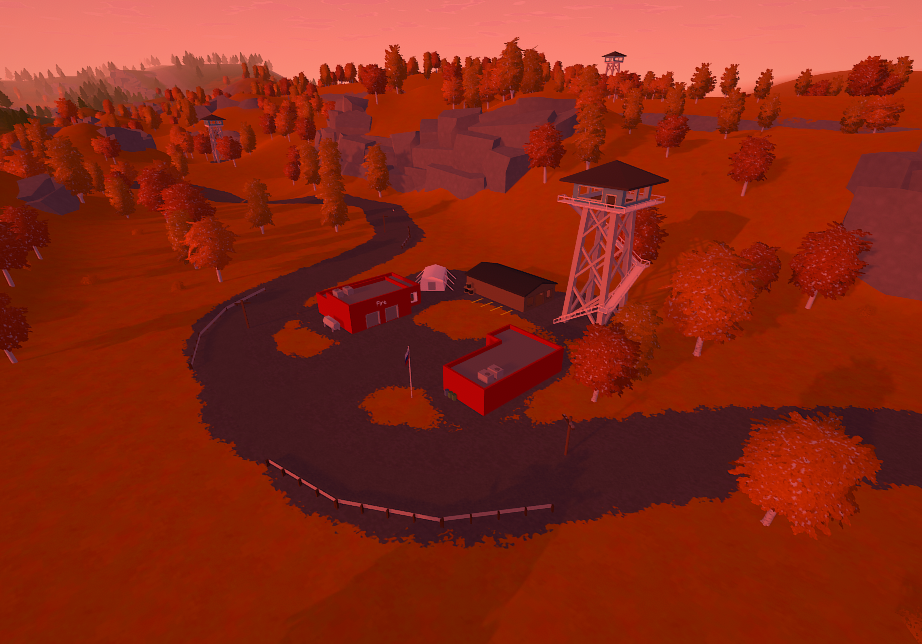
Step 1: Find a Location
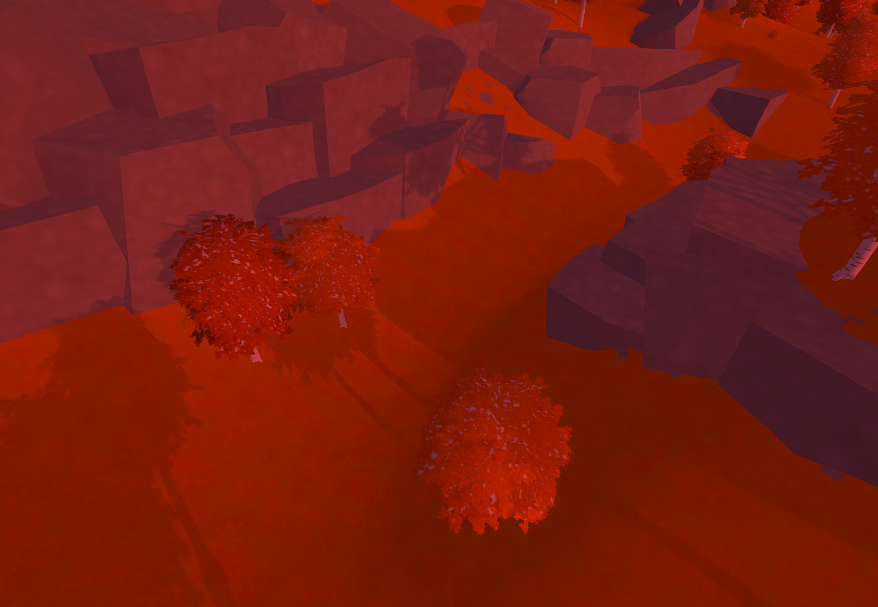
Pick a spot near the areas you want to operate from, but far enough that your base is not immediately visible from the road or from other players passing by. Look for natural cover like trees, hills and rock formations.
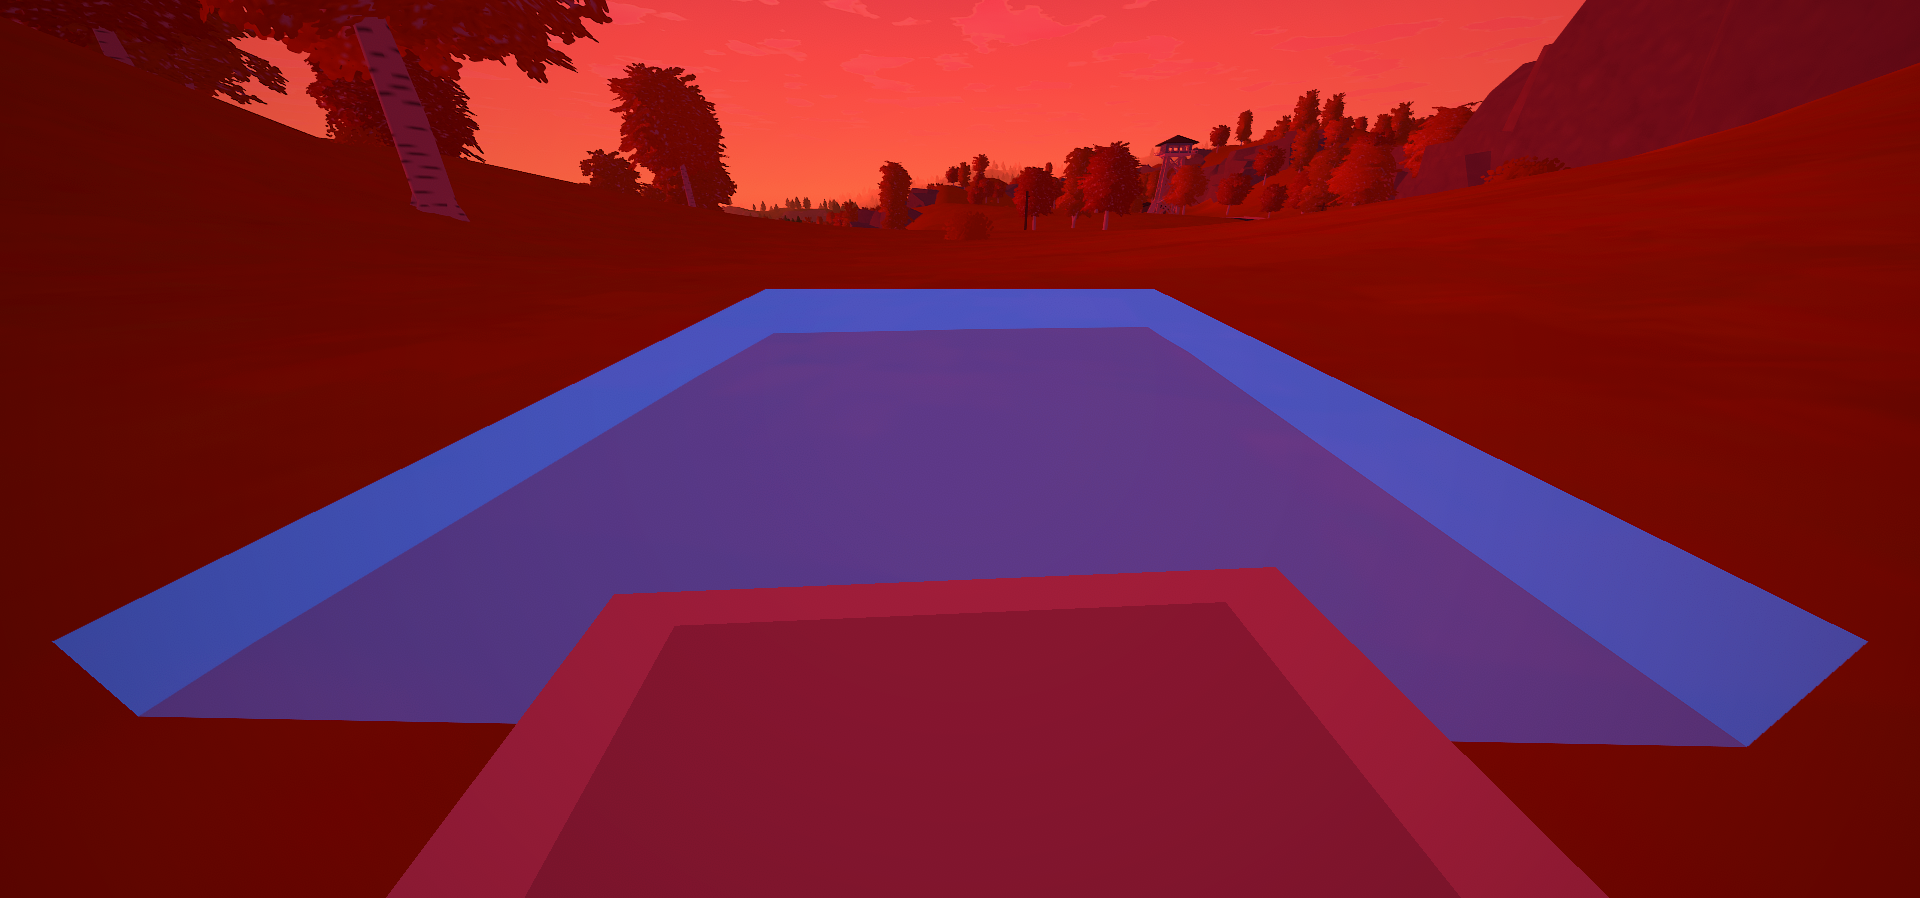
Step 2: Foundation
Place a Floor or Triangular Floor on the ground where you want your base. This is the foundation of your structure. Everything else builds on top of it.
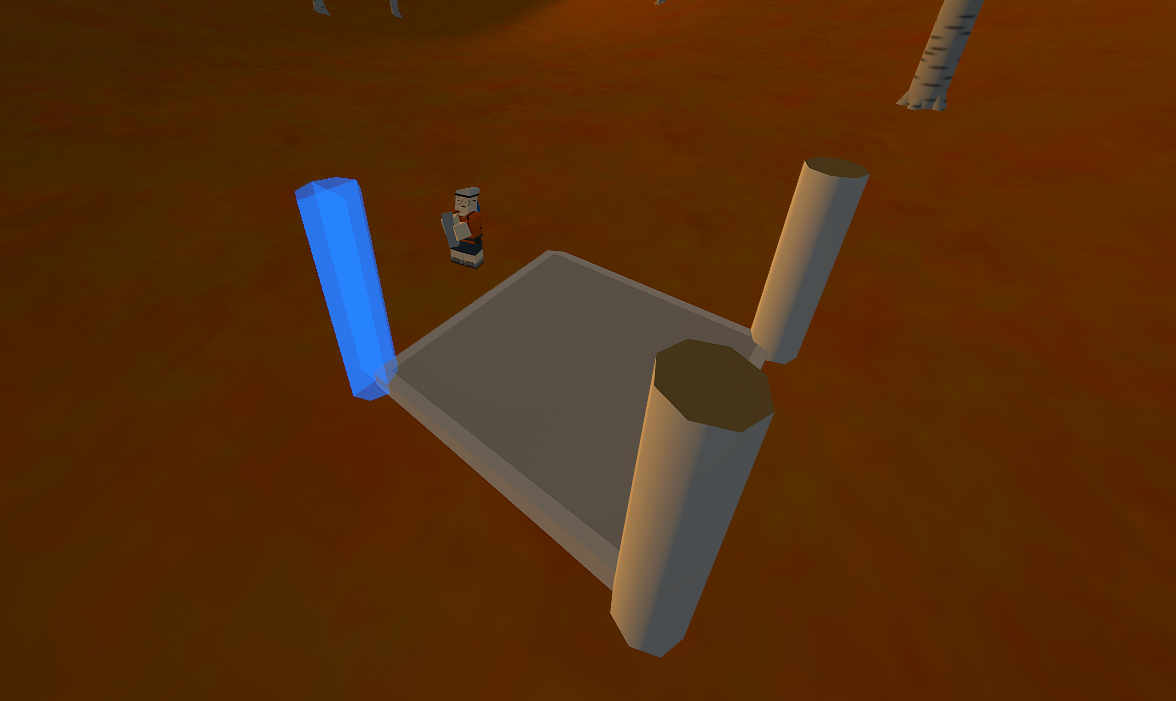
Step 3: Pillars
Place Pillars on the corners of your foundation. You cannot place walls without pillars. The game requires them as structural support.
Step 4: Entrance
Decide where you want your entrance to be. This determines where players and zombies enter your base. Choose wisely. You want one entrance that you can defend, not three ways in.
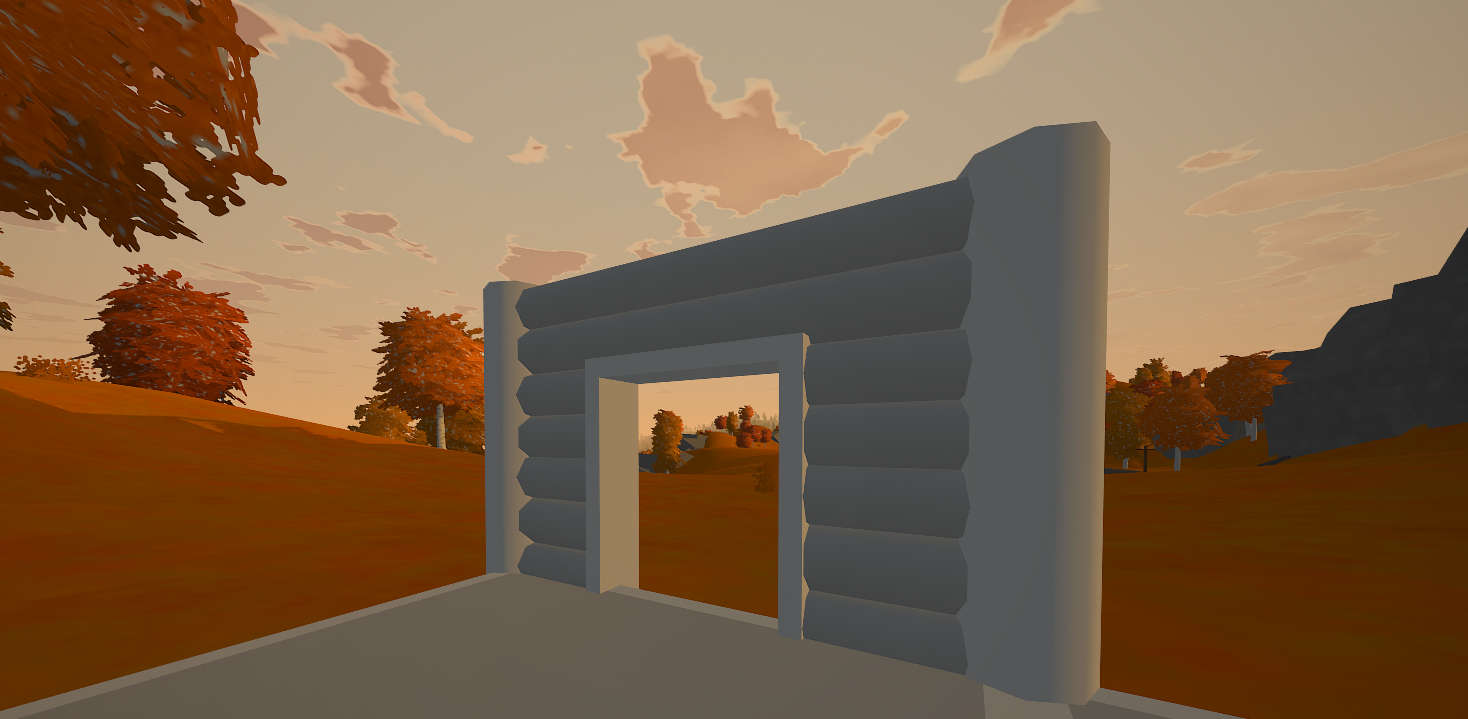
Step 5: Doorway
Place a Doorway where you decided your entrance will be. A Doorway is the frame that holds your door.
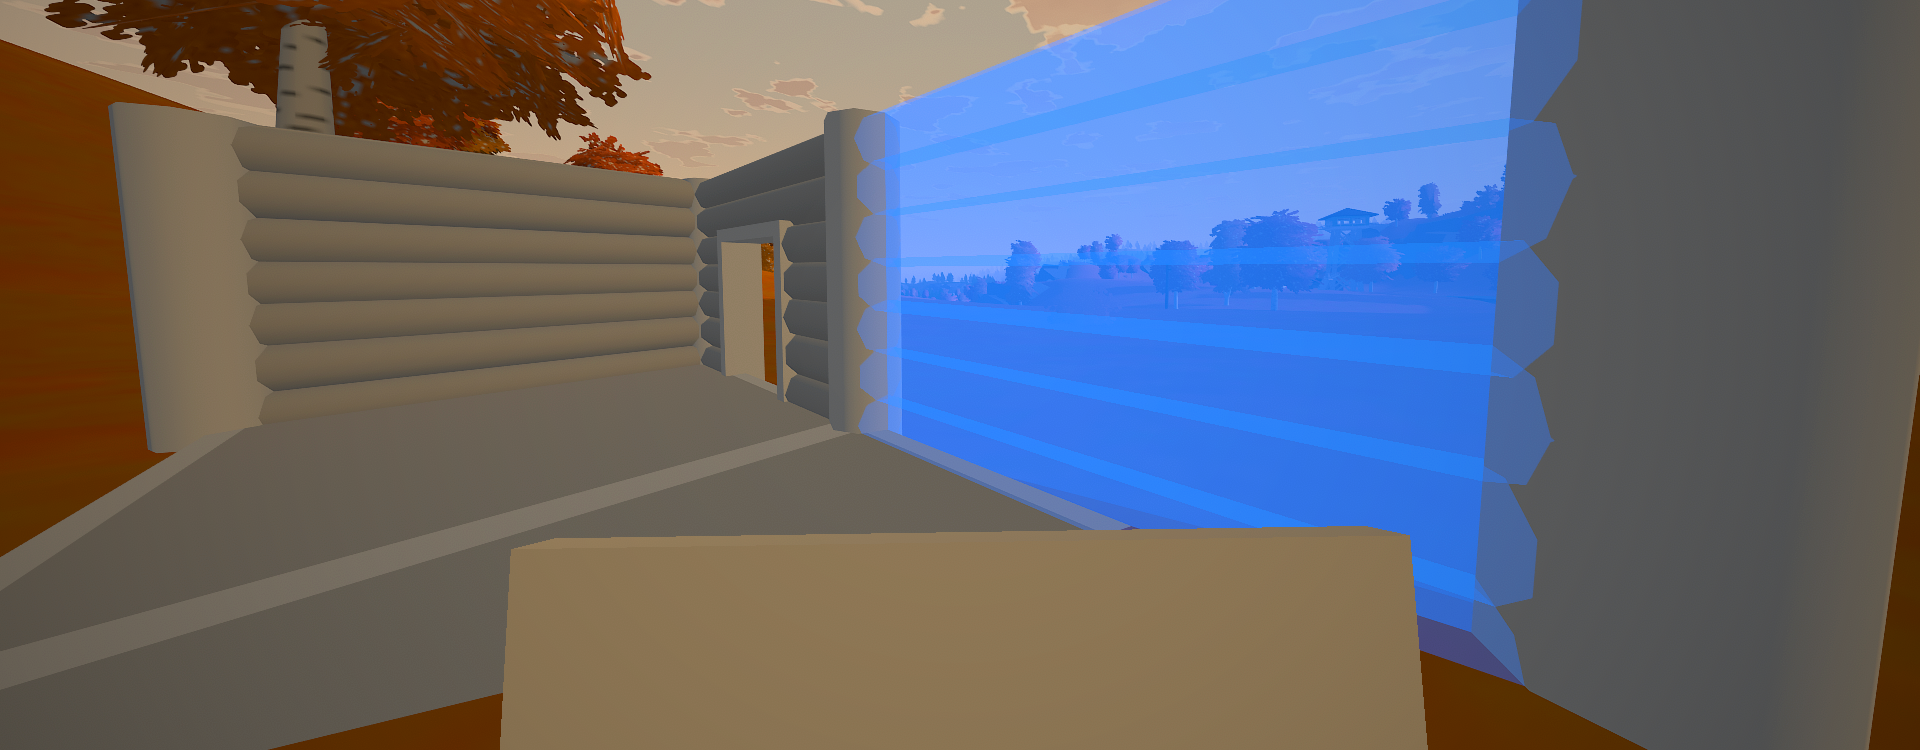
Step 6: Walls
Fill the remaining gaps between pillars with Walls. Each side of your base that is not a doorway gets a wall.
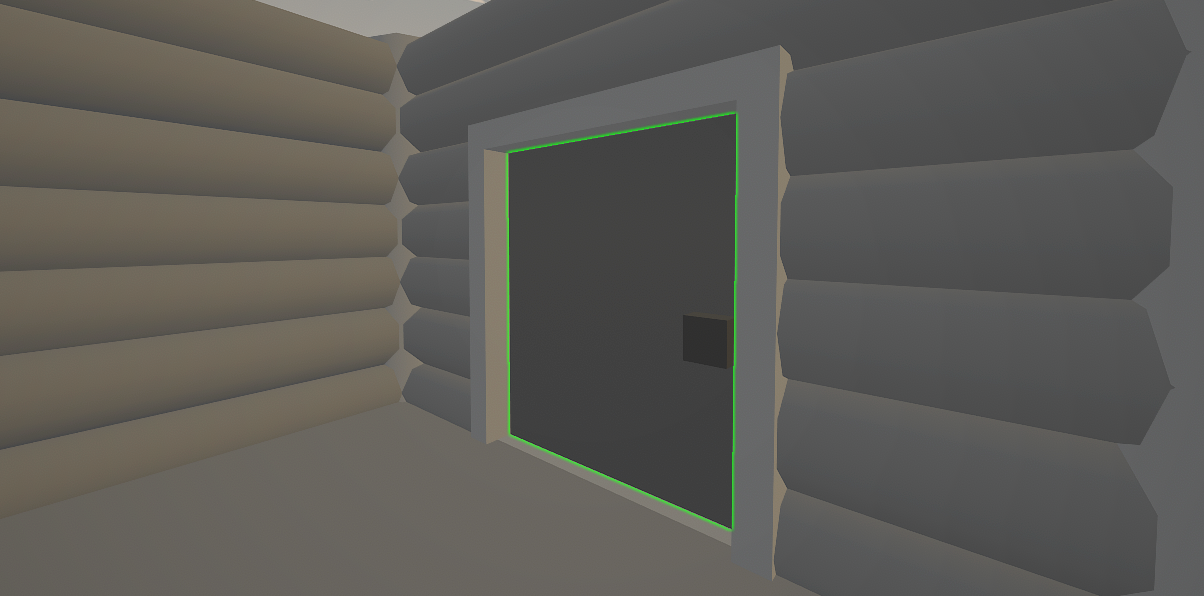
Step 7: Door
Now place a door in your doorway.
Wooden doors cannot be locked and can be opened by any player. If you want only yourself and your group members to open the door, craft a Metal Door or Vault Door instead. These are automatically locked.
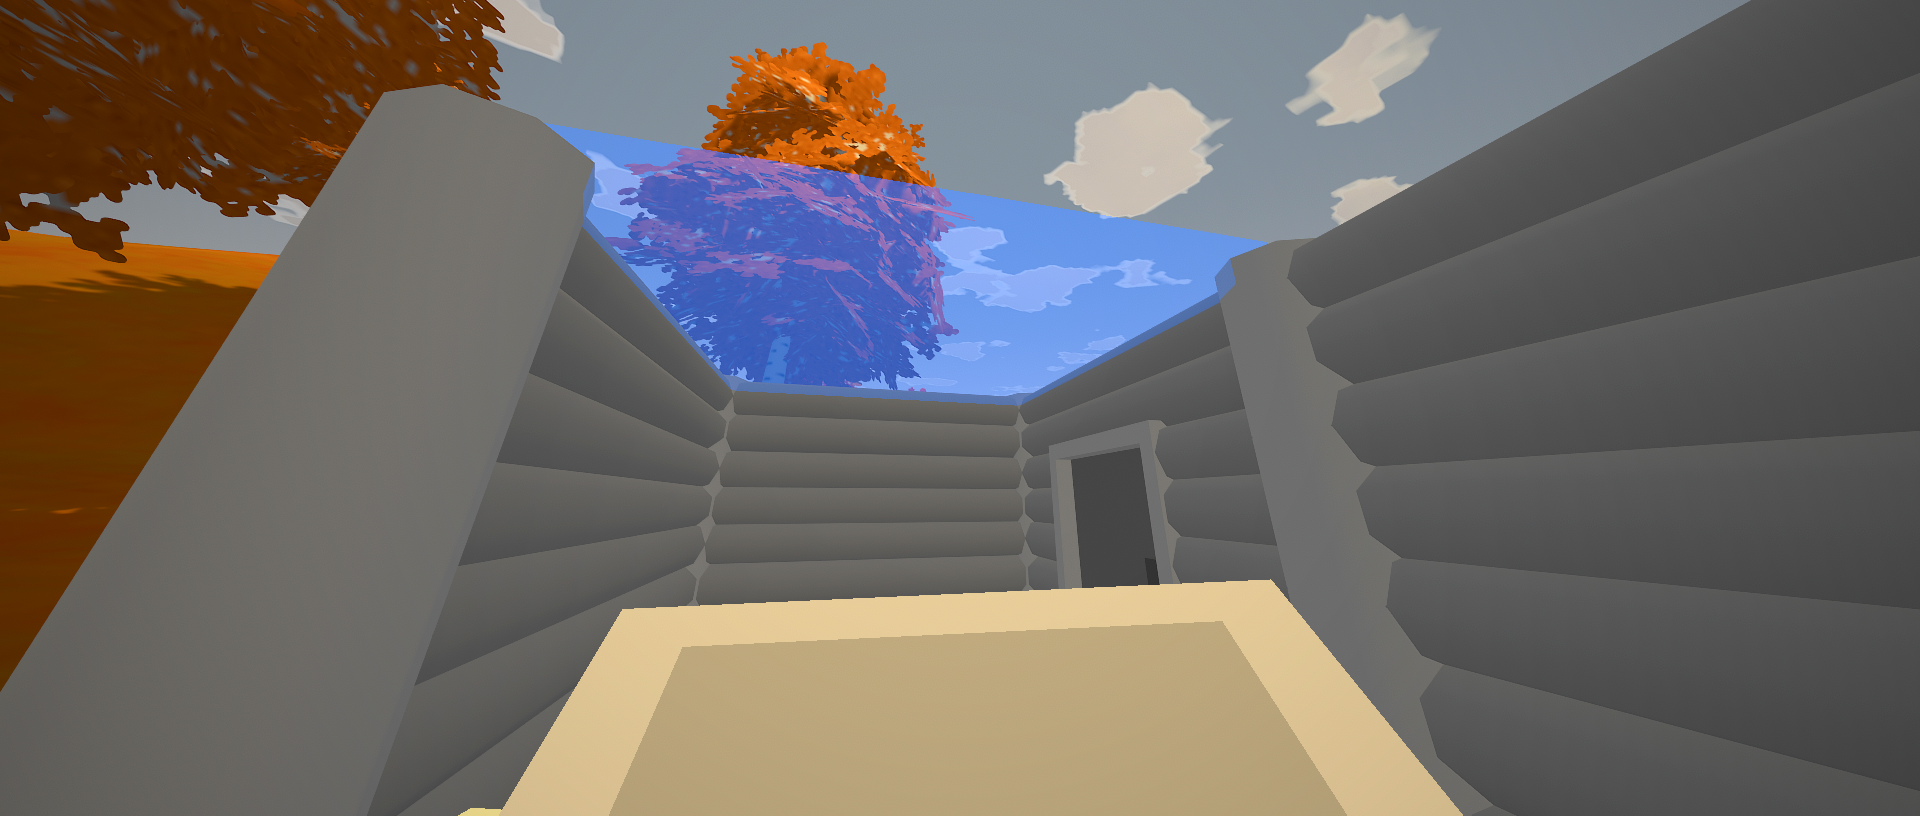
Step 8: Roof
Close off the top of your base with a Roof. This prevents players from dropping in from above and protects your base from weather.
Step 9: Second Floor (Optional)
If you want a second floor, use a Hole or Stairs:
- Stairs are an open ramp. Anyone who gets inside can walk up freely.
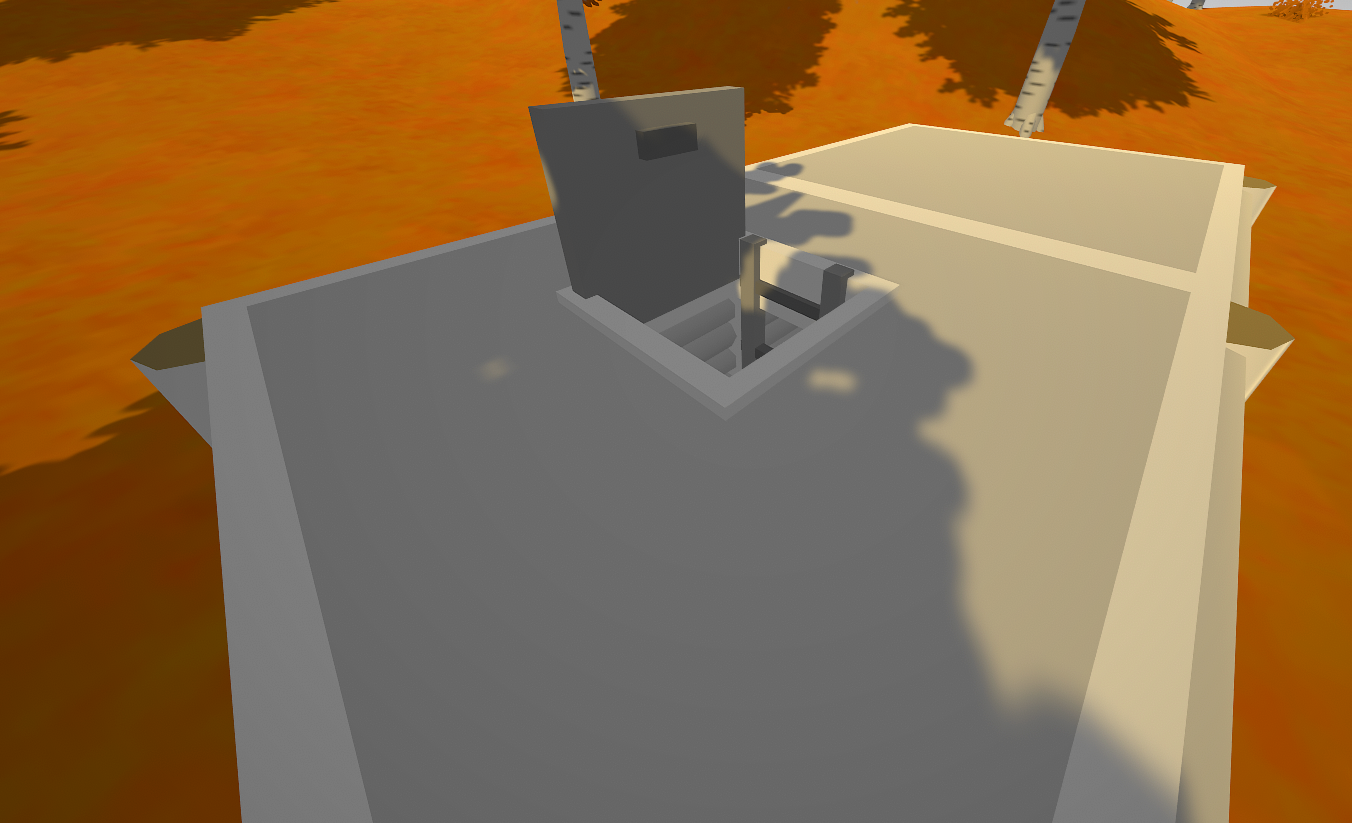
- Hole is an opening in the roof that requires a ladder to climb through. You can craft a Hatch to cover it.
A Hatch works like a door. Wooden hatches cannot be locked, but metal hatches can. Place a metal hatch on your hole to control access to your second floor.
This guide covers the basics. We will expand it with underwater and skybase construction in a future update.